
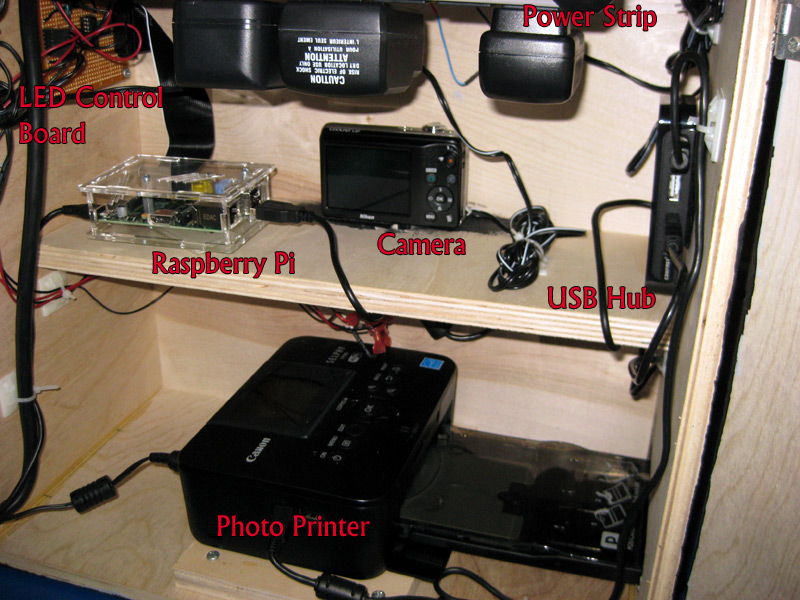
1) Raspberry Pi: The Raspberry Pi was configured per this instructable - Raspberry Pi Photobooth Controller. I had to do a few things differently than listed in the Instructable - mostly I had some Linux permissions problems, and I was never (so far) able to get the script to run successfully at startup.
2) Camera: The camera is controlled via USB, using the gphoto2 package under Linux. I camera doesn't have a DC input, so I make a 'fake' battery pack using some dowels and a DC adapter so that the camera could stay powered all the time. One annoying thing is that I can't adjust the flash or zoom settings on the camera while it is plugged into the Pi, but once you reconnect the camera to the Pi all the settings revert back to defaults. Which basically means I could never get the flash to stay disabled, and instead of zooming the camera I had to move the whole box closer to the chairs in the booth. Annoying - hopefully I will find a way to deal with this with a little more tweaking.
3) Photo Printer: Just a Canon Selphy photo printer - because that's what they had at Best Buy. Works pretty well, though. Only downside is the paper and ink cartridge need to replaced every 36 prints. Which means that if it were used more heavily at the party I would have needed to babysit it a lot more. As it was, it wasn't used as much as I had hoped, but that's mostly because I didn't do a good job of spreading the word that it was there to be used. Next time I will make sure everyone knows right from the start.
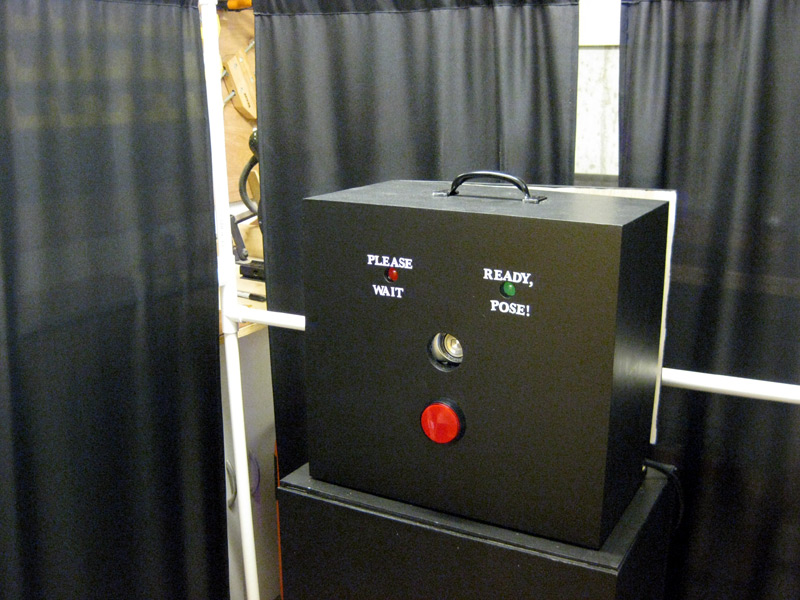
4) LED Control Board: I built a little LED control board for switching power for the big red button, plus the two status LEDs. This board connects to the GPIO pins of the Raspberry Pi.
5) USB Hub: The Raspberry Pi can't handle power-hungry peripherals on its USB ports, so you've typically got to connect up a powered USB hub.
6) Power Strip: Not much to say here - everything needed to be plugged in, so it made sense to include one. In the distant future it would be nice to rewire everything in here so that it can all be run off of a single power input to the box, and then regulated down for the individual devices. But I consider that a back-burner luxury for now.