
Categories
Archives
- March 2022 (10)
- November 2021 (9)
- October 2021 (10)
- January 2021 (5)
- November 2020 (6)
- August 2020 (2)
- June 2020 (9)
- May 2020 (4)
- April 2020 (7)
- March 2020 (4)
- January 2020 (6)
- October 2019 (4)
- August 2019 (3)
- July 2019 (2)
- June 2019 (4)
- May 2019 (3)
- April 2019 (15)
- February 2019 (1)
- January 2019 (5)
- November 2018 (8)
- August 2018 (10)
- July 2018 (4)
- May 2018 (23)
- April 2018 (4)
- March 2018 (4)
- February 2018 (1)
- January 2018 (5)
- October 2017 (1)
- September 2017 (6)
- July 2017 (8)
- May 2017 (11)
- February 2017 (1)
- January 2017 (6)
- November 2016 (5)
- August 2016 (8)
- June 2016 (9)
- May 2016 (9)
- March 2016 (2)
- December 2015 (7)
- November 2015 (1)
- October 2015 (5)
- August 2015 (8)
- July 2015 (3)
- June 2015 (2)
- May 2015 (14)
- April 2015 (5)
- March 2015 (13)
- February 2015 (5)
- January 2015 (14)
- December 2014 (1)
- November 2014 (9)
- October 2014 (4)
- September 2014 (12)
- August 2014 (13)
- July 2014 (10)
- June 2014 (4)
- May 2014 (9)
- April 2014 (3)
- March 2014 (3)
- February 2014 (7)
- January 2014 (2)
- December 2013 (2)
- November 2013 (4)
- October 2013 (12)
- September 2013 (14)
- August 2013 (10)
- July 2013 (6)
- June 2013 (11)
- May 2013 (12)
- April 2013 (1)
- March 2013 (6)
- February 2013 (7)
- January 2013 (4)
- December 2012 (6)
- November 2012 (4)
- October 2012 (2)
- September 2012 (5)
- July 2012 (8)
- June 2012 (3)
- May 2012 (12)
- April 2012 (4)
- March 2012 (7)
- February 2012 (4)
- January 2012 (1)
- December 2011 (9)
- November 2011 (10)
- October 2011 (10)
- September 2011 (4)
- August 2011 (8)
- July 2011 (28)
- June 2011 (5)
- May 2011 (7)
- April 2011 (3)
- March 2011 (6)
- February 2011 (10)
- January 2011 (7)
- December 2010 (13)
- November 2010 (10)
- October 2010 (10)
- September 2010 (12)
- August 2010 (4)
- July 2010 (16)
- June 2010 (3)
- May 2010 (7)
- April 2010 (3)
- March 2010 (3)
- February 2010 (12)
- January 2010 (5)
- December 2009 (11)
- November 2009 (14)
- October 2009 (19)
- September 2009 (8)
- August 2009 (15)
- July 2009 (14)
- June 2009 (8)
- May 2009 (6)
- April 2009 (8)
- March 2009 (8)
- February 2009 (11)
- January 2009 (12)
- December 2008 (13)
- November 2008 (23)
- October 2008 (10)
- September 2008 (11)
- August 2008 (13)
- July 2008 (10)
- June 2008 (9)
- May 2008 (6)
- April 2008 (4)
- March 2008 (2)
- January 2008 (3)
- December 2007 (9)
- November 2007 (3)
- October 2007 (3)
- September 2007 (1)
- July 2007 (8)
- June 2007 (11)
- May 2007 (13)
- April 2007 (10)
- March 2007 (15)
- February 2007 (1)
- January 2007 (15)
- December 2006 (8)
- November 2006 (9)
- October 2006 (24)
- September 2006 (4)
- August 2006 (6)
- July 2006 (6)
- June 2006 (8)
- May 2006 (18)
- April 2006 (9)
- March 2006 (8)
- February 2006 (10)
- January 2006 (8)
- December 2005 (8)
- November 2005 (12)
- October 2005 (19)
- September 2005 (13)
- August 2005 (15)
Author Archives: joel
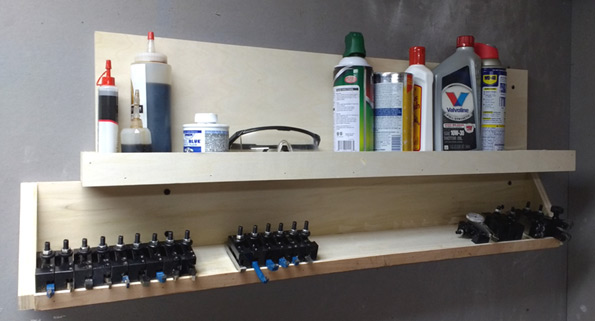
Lathe Shelf
Originally I was keeping all of my cutters in a drawer in the toolbox below the bench. But that became kind of a pain, because I needed to root around in that drawer every time I wanted to try a new cutter. I needed to get them up at eye level, so I could more easily see what I have - especially while I'm a newbie and have no idea which cutter I should be using for any particular operation. :)

Posted in Metal
Comments Off on Lathe Shelf
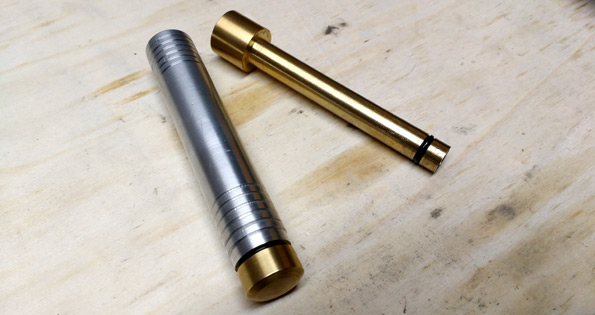
Fire Piston
A couple of weeks ago I made a fire piston on the lathe, but forgot to post about it. For those who haven't heard of a fire piston, they are a way to start a fire without matches using adiabatic compression. When you compress the piston quickly, the air inside heats up enough to ignite a piece of tinder held is a slight recess at the end of the piston. This one was tough because the tolerances had to be just right to prevent air from escaping when the piston was compressed - I actually ended up having to make the piston twice - on the first one, the o-ring didn't quite seal the chamber. For materials, the main part of the handle is aluminum, the handle end cap is brass, and the piston is brass. It can't be seen from the pictures, but the top cap of the piston can be unscrewed to reveal a small storage compartment in the piston - this can be used to store extra tinder (char cloth, specifically).

Posted in Metal
Comments Off on Fire Piston
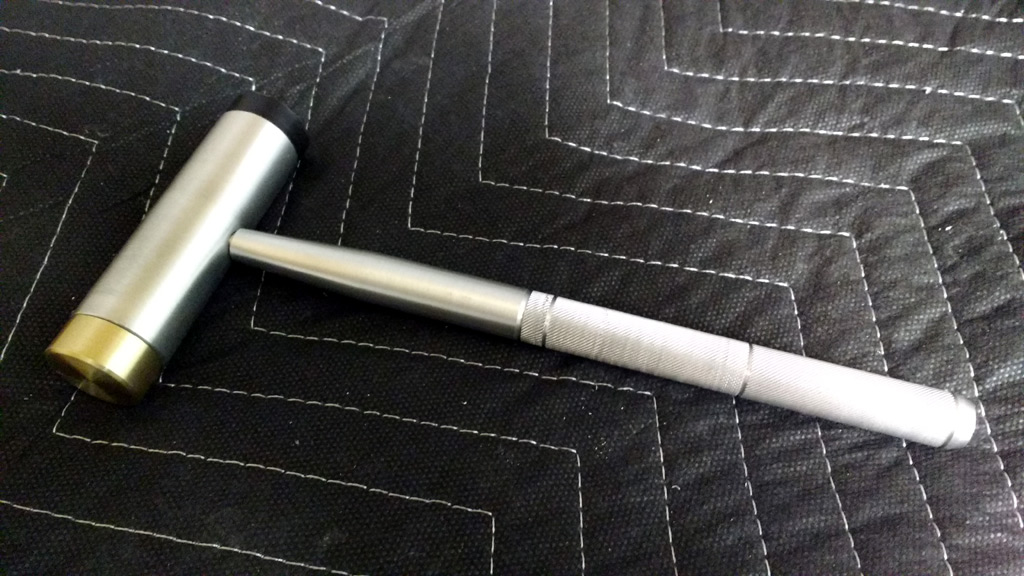
Machinist’s Hammer
This weekend I made a machinist's hammer on the lathe. The handle and head are made of aluminum, and the two ends of the head are made of brass and Delrin (a machinable plastic). I had to learn some new techniques for this one, including tapping holes and cutting threads with a die. I've got a little bit to learn there, in terms of how to keep everything straight and lined up. I also learned how to get a better finish on aluminum - these have a sort of "brushed" finish, and look pretty good if I do say so myself. If I had to do it over again, I think I'd beef up the handle a bit more - it looks a bit delicate for that top. But I was struggling to figure out how to hold it to turn it down, so I kept making mistakes that I needed to turn off - so it just kept getting skinnier and skinnier. :)
Posted in Metal
Comments Off on Machinist’s Hammer
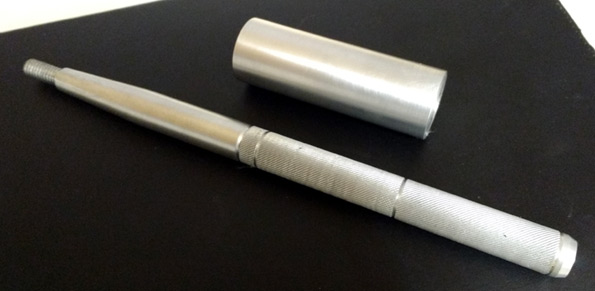
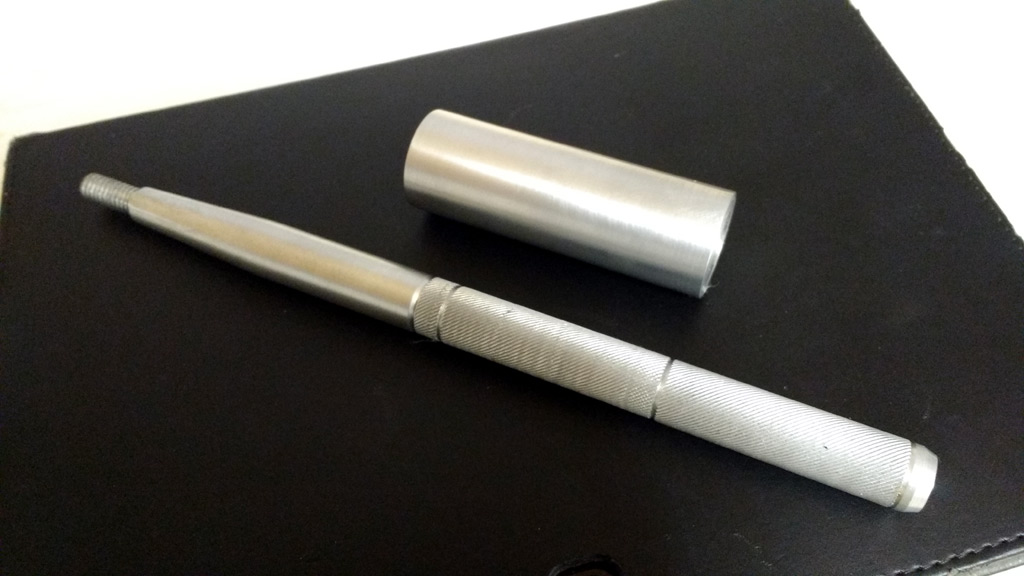
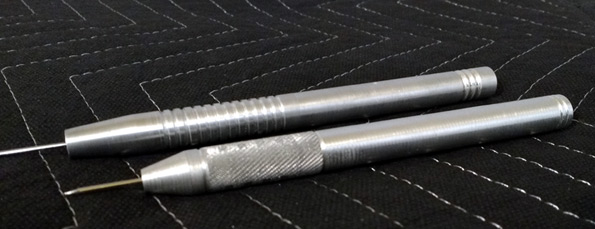
Scribing Tools
First project on the metal lathe! This weekend I made a pair of scribing tools for use in the metal shop. They are made of aluminum with a sewing needle for a tip, and are used to scribe layout lines on stock. They should help me a lot on future projects. They gave me practice drilling holes, tapering (for the tips), knurling, and using the auto-feed for getting a good surface finish on the bodies. Although I still need a little practice on that last one - the surface looked a lot better when I used the auto-feed, but I still think it could be better.

Posted in Metal
Comments Off on Scribing Tools
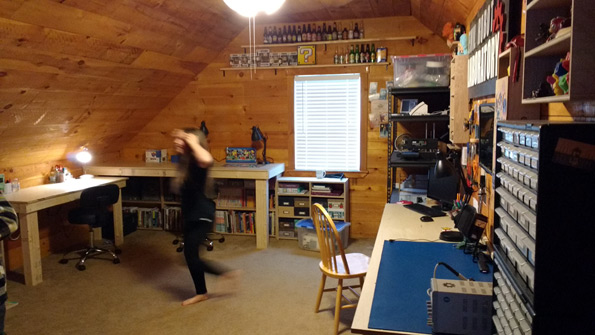
Makerspace
In the old house I had my makerspace/tinkering workbench in a corner of the basement. It worked, but was a little space-limited. Plus, the kids would often want to hang out down there with me but they didn't have anywhere to sit or any space to do their own stuff - so they would hang out for five minutes, get frustrated, then wander off. But the new house had a finished room in the attic, so I built a bunch of work benches up there and now we've all got our own space to work. The family computer is up there too, plus a bench for Lori to do puzzles. It's been great! Sean especially loves it up there - he's actually camped out on the floor a few times since I finished it.


Posted in House
Comments Off on Makerspace
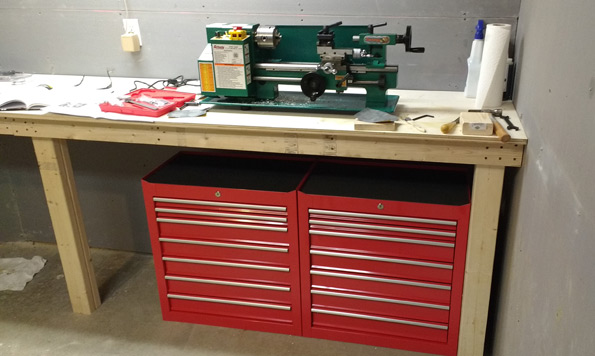
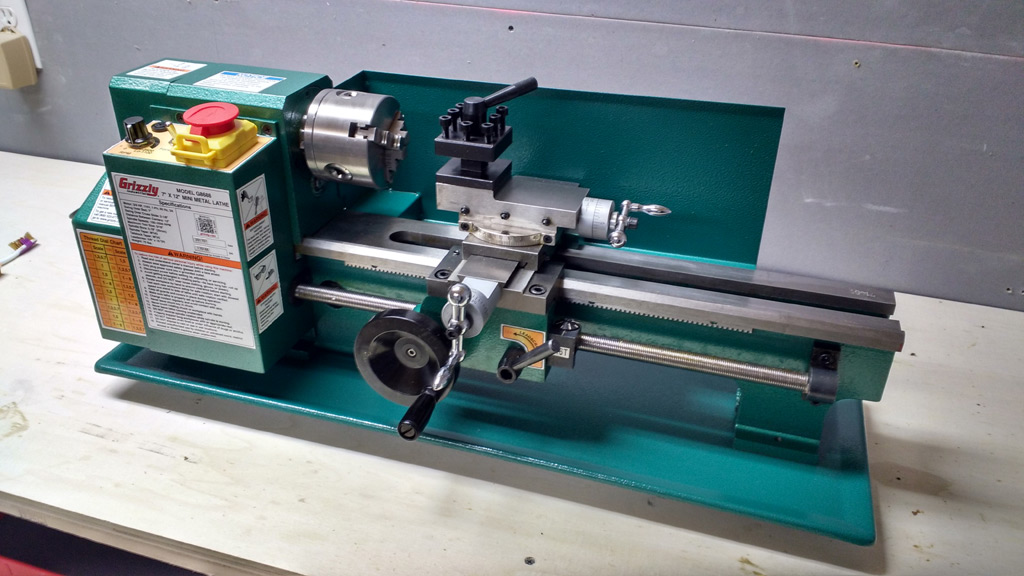
Metal Lathe
One other great thing about the new house is a small finished room in the basement with a concrete floor, which I can use as a metal-working shop. I've wanted to get into machining for a while, but didn't have the space in the old shop to add any more tools - plus mixing a metal shop with a wood shop is a recipe for a fire once I start grinding or welding. So now this little room has a brand new Grizzly mini-lathe! I'm hoping to learn a lot about it, and maybe add a small benchtop mill to this room in the future. I'll bet this little lathe will be the source of many new project posts in the near future.

Posted in Metal
Comments Off on Metal Lathe
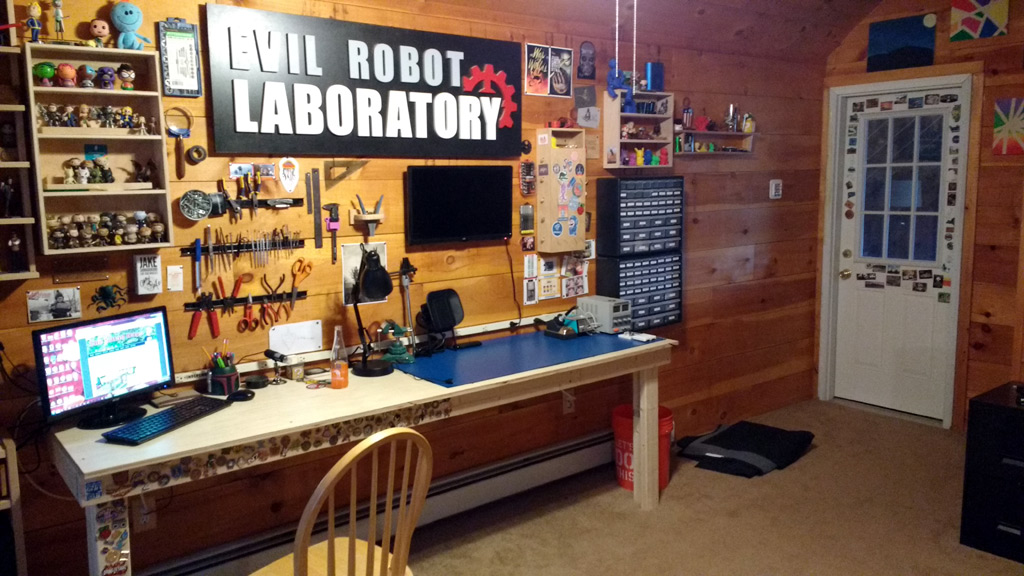
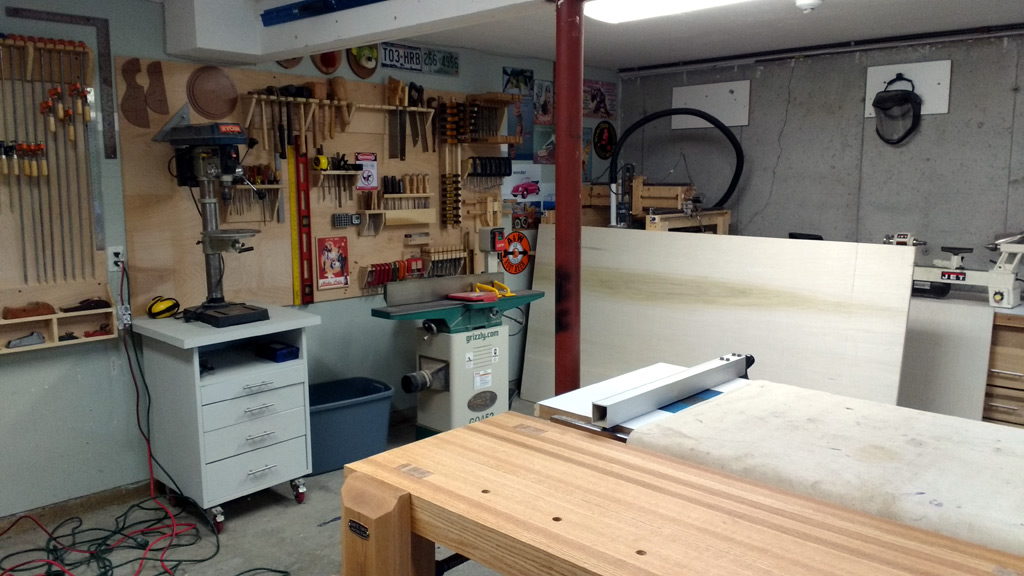
New Workshop
I know these photos aren't going to look much different than the old workshop, but it really does feel different in person. Because the new house has sort of a third garage bay (it's not car-depth), I no longer need to share my woodshop space with bikes, generators, snowblowers, etc. It lets me spread my tools out a lot more, and makes the shop a lot more fun to work in. Plus a little natural light coming in through the man-door between the garage doors is a great bonus.

Posted in Wood
Comments Off on New Workshop
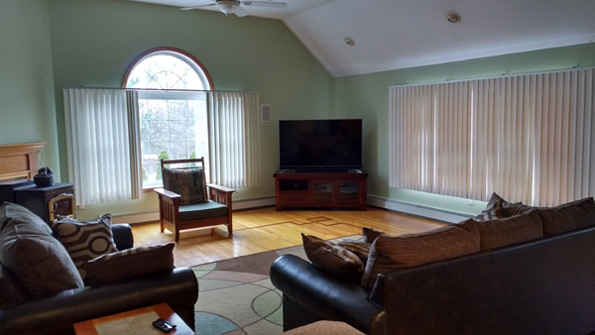
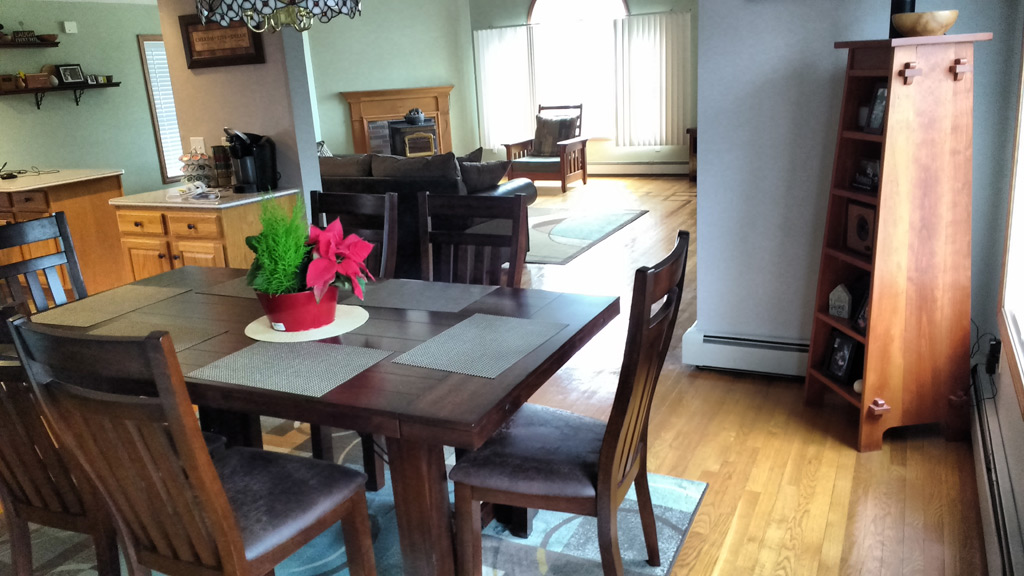
We Moved!
It's been pretty quiet here on the blog, but I've got a good excuse - we moved! It's only a couple of miles from the old house - we wanted to keep the kids in the same schools. But it gives us more space, plus a neighborhood that we can actually walk around - and the kids have friends in this neighborhood too, which is a big plus. Here are a couple teaser pics of the new place.

Posted in Family
Comments Off on We Moved!
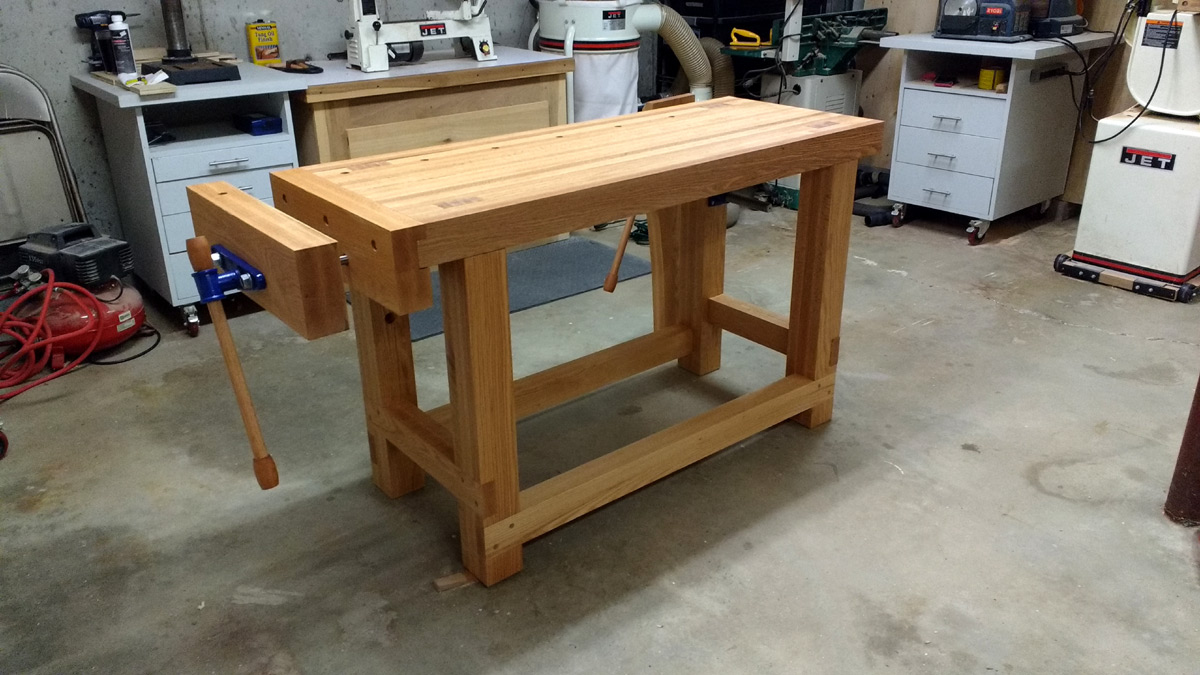
Ruobo Workbench – Finished
Finished the workbench today. I flattened the top, drilled the dog holes, and put on two coats of a tung oil finish. Both vises are installed and working, and I made some bench dogs to use with the dog holes I drilled in the top. I also found some handmade iron holdfasts on etsy. I still don't know what I want to do underneath it, but for now I am calling it done!
Posted in Wood
Comments Off on Ruobo Workbench – Finished
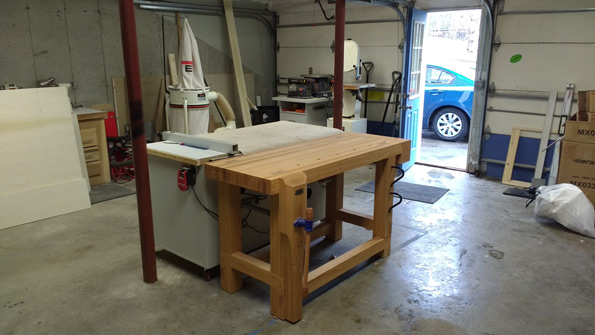
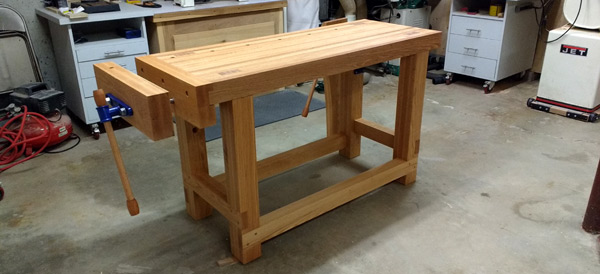
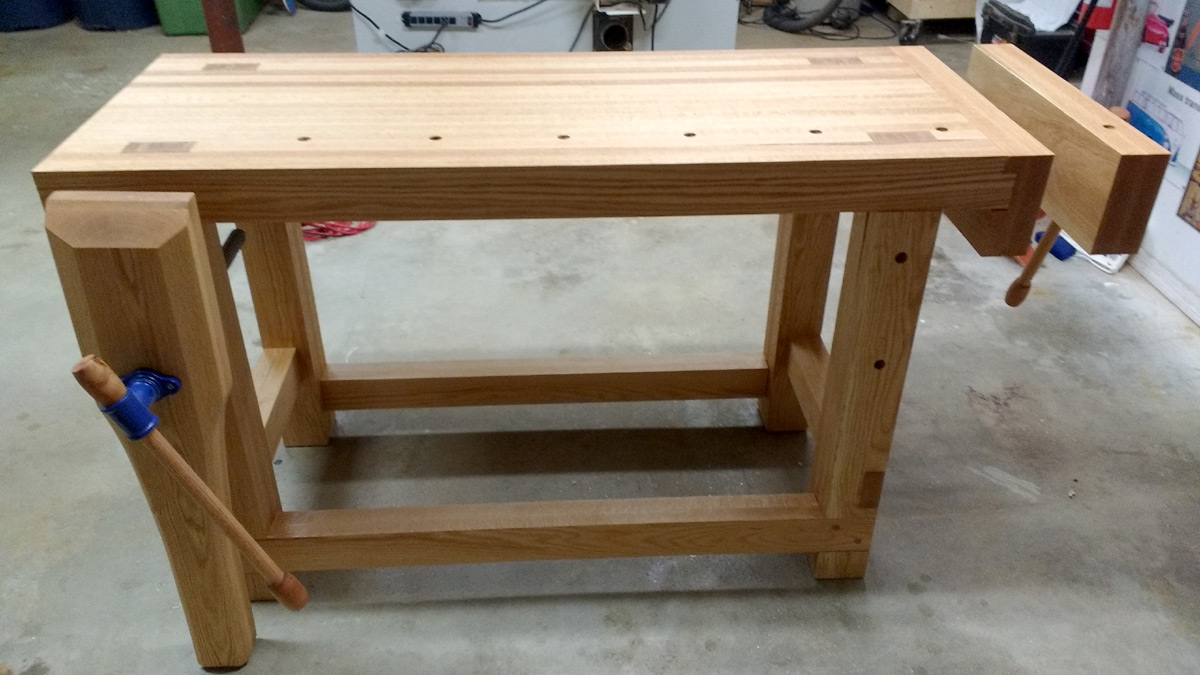
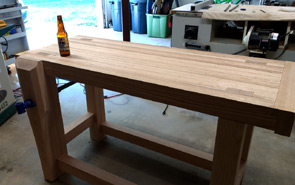
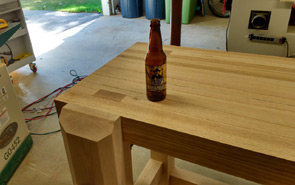
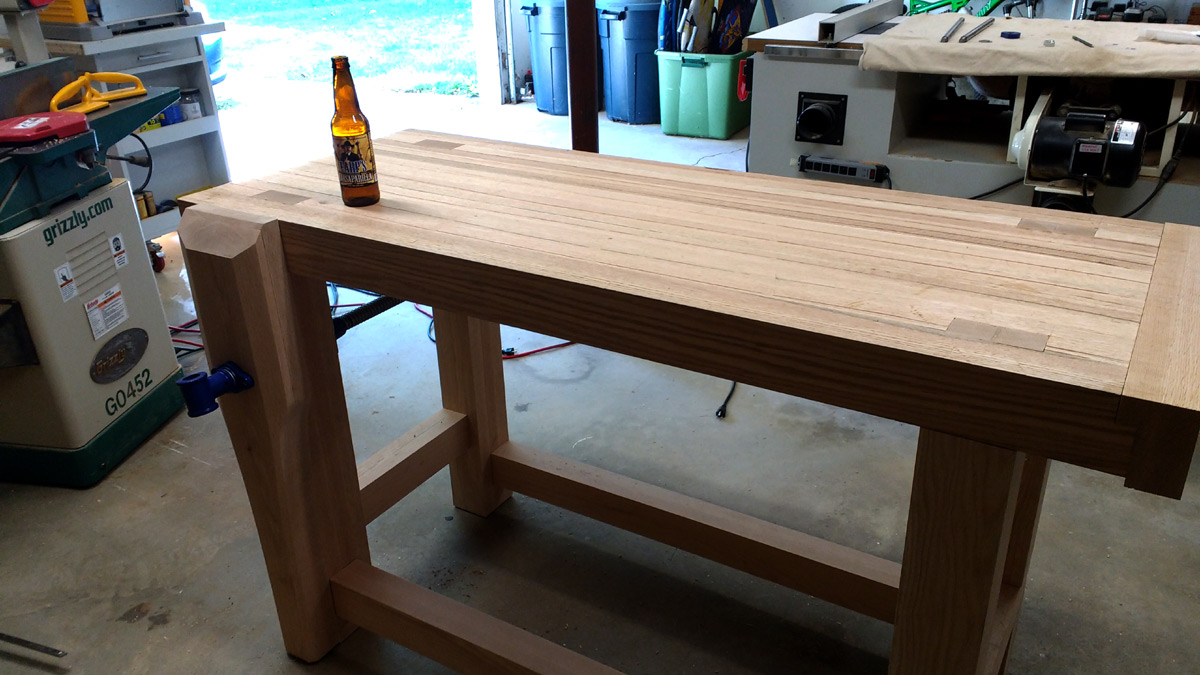
Ruobo Workbench
I've started working on a traditional, Ruobo-style workbench. It's made completely of red oak, and weighs over 300 pounds - it's a beast! The top is over three inches thick, and the legs are about four inches square. The bottle of sarsaparilla is there for scale. It's got a traditional leg vise, and a full width end vise. I still need to install the end vise, flatten the top, drill the dog holes, and apply a finish to the whole bench. I may install a shelf or some drawers underneath, but I'd like to use it for a while first and figure out what would be the most useful. I'll post another set of photos once it is done.

Posted in Wood
Comments Off on Ruobo Workbench